
NTP or Network Time Protocol is a networking protocol that is used for synchronizing clocks across networks and computers around the world. An NTP server is very important for a system to provide you with the correct time.
As a result, it is also very important to configure NTP correctly on your system. But, it is a bit complicated process. Due to that, we have created this post where we will be covering how to configure NTP server in Windows 2012 R2 in a step by step manner. Added to that, we will also provide screenshots of the entire procedure.
So, let’s dive right in…
How to Configure NTP servers in Windows 2012 R2
There are a couple of methods you can follow. We will be sharing one by one in the following sections.
Method 1:
- First, right-click on the ‘Start’ button and click on the ‘Run’ option from there
- Next, type in ‘gpedit.msc’ on the box and click on ‘OK’ or press the ‘Enter’ key
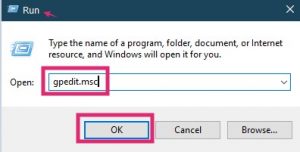
- In doing so, the ‘Local Group Policy Editor’ window will open up
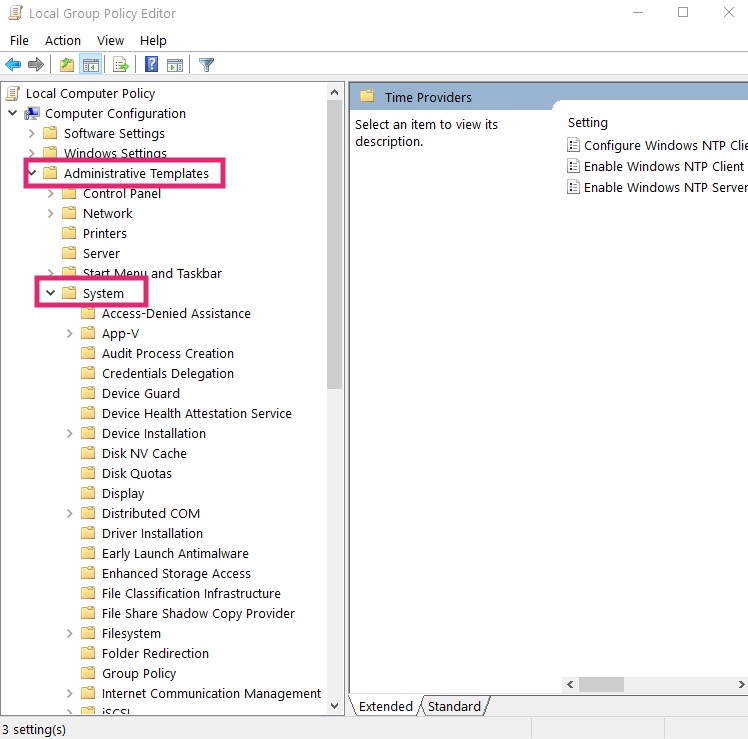
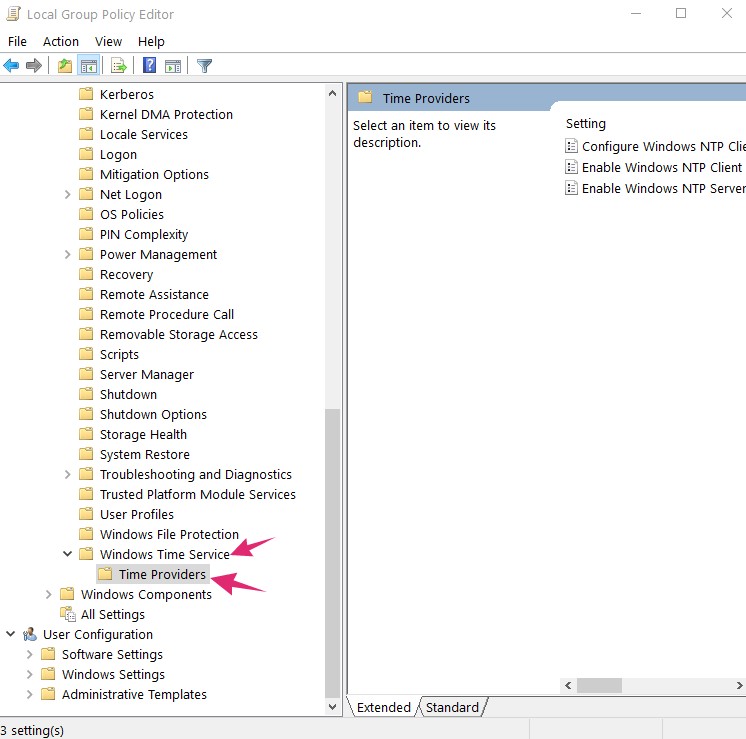
- From the left pane of the new window, you will have to navigate to ‘Administrative template>System>Windows Time Service>Time Providers’
- Now, you will have to open the ‘Enable Windows NTP Server’ option from the right pane
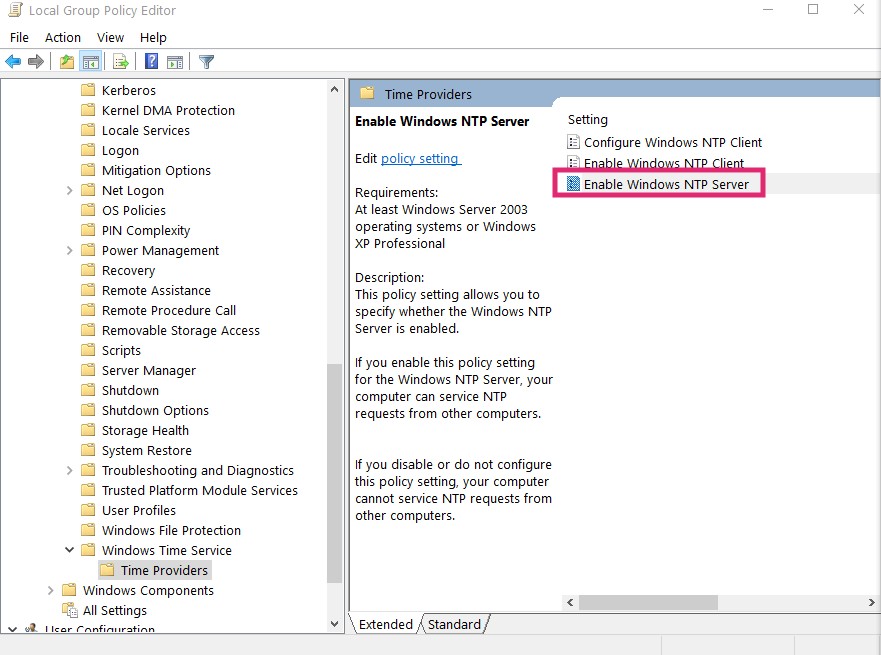
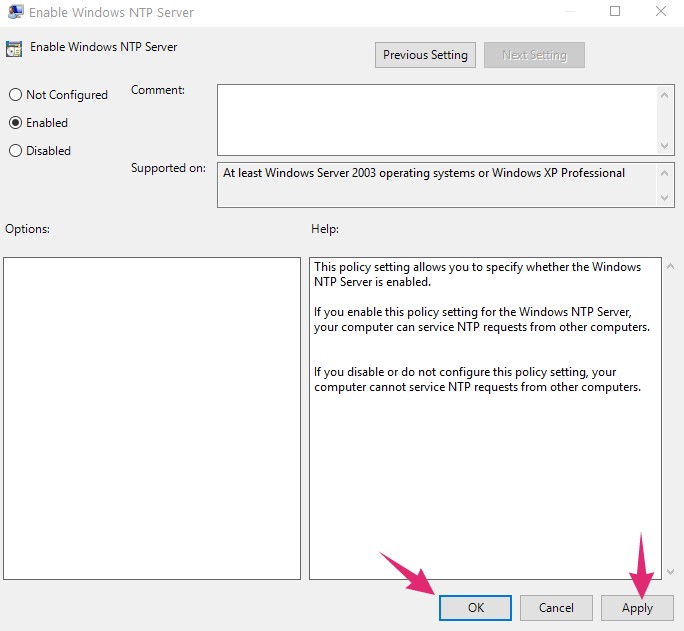
- Next, checkmark the ‘Enabled’ option on the upper left corner from the new popup window
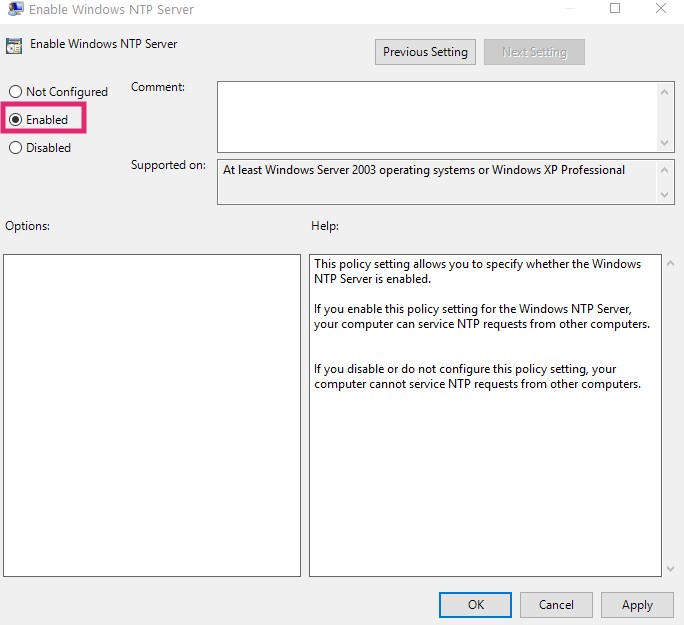
- Close the window by clicking on the ‘OK’ or ‘Apply’ button
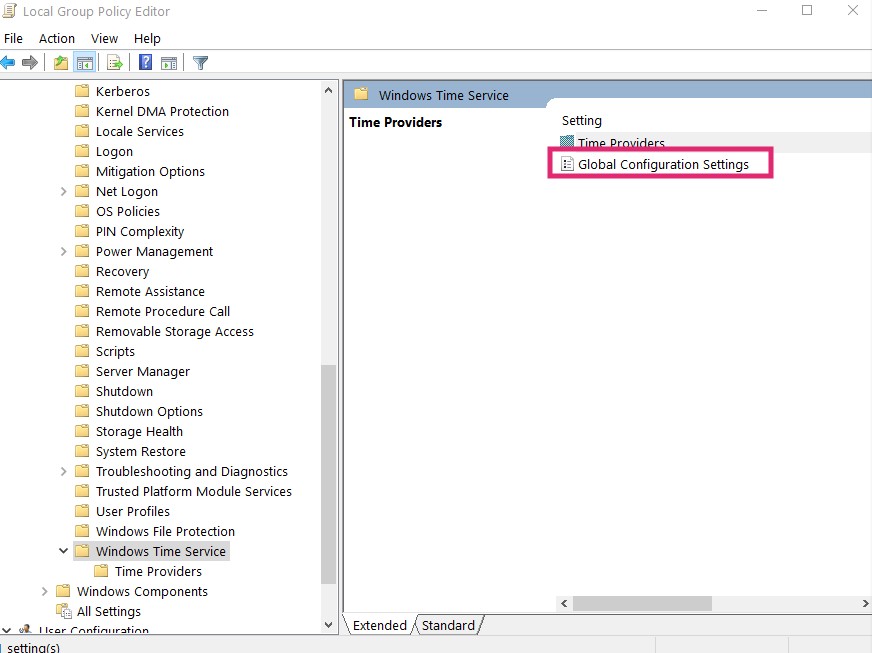
- Now, select the ‘Windows Time Service’ option from the left pane once again

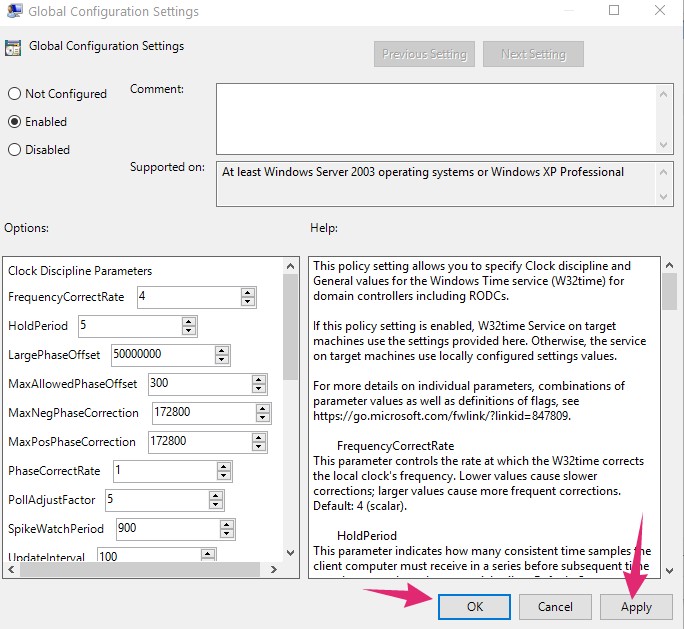
- And, open the ‘Global Configuration Settings’ option from the right pane
- Again, checkmark the ‘Enabled’ option on the upper left corner from the new popup window
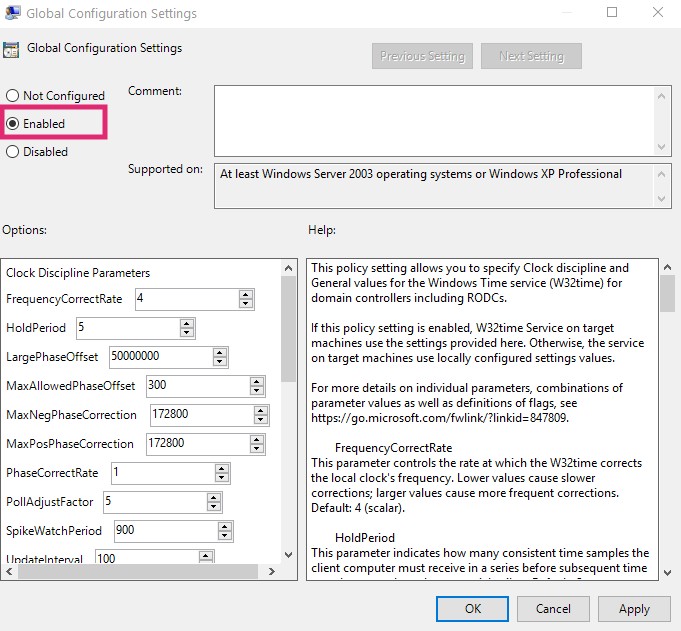
- Also, you have to change the ‘AnnounceFlag’ to ‘5’
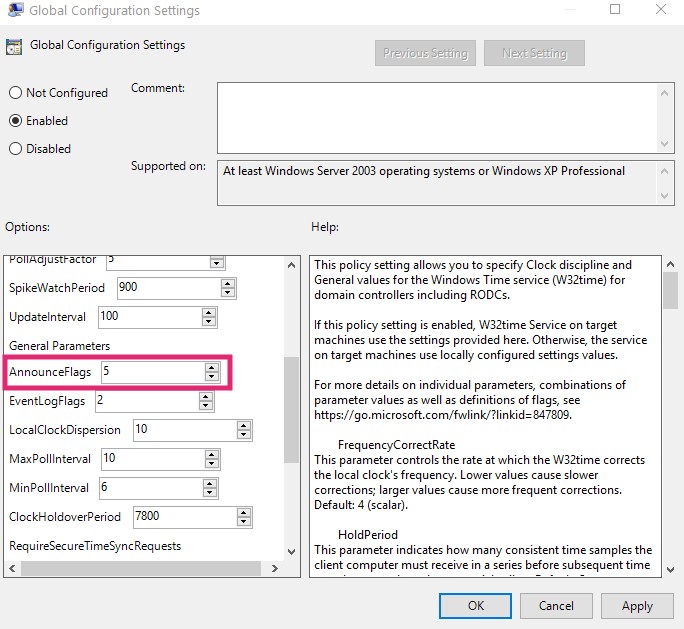
- And click on the ‘OK’ button from the bottom right corner
- Finally, close the ‘Local Group Policy Editor’ window
At this moment, you will have to open the ‘Server Manager’ on your machine. And, follow accordingly…
- After opening the ‘Server Manager’, click on ‘Tools’ and then select ‘Services’
- Now, scroll down and right-click on the ‘Windows Time’ option
- Then click on ‘Start’ or ‘Restart’ from the submenu
Method 2:
In this method, you will have to obtain a list of trusted and working NTP servers. You can find them here. Now, follow these steps…
- Launch command prompt in your system
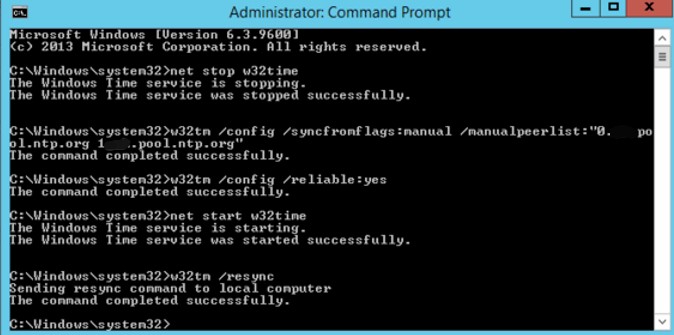
- Now, you will stop the time service with this command: type net stop w32time and press Enter
- Also, you can use this command as well: Stop-Service w32time
- In doing so, you will see the confirmation message like this: Windows Time Service was stopped successfully
- Now a enter this new command for configuring the NTP servers: w32tm /config /syncfromflags:manual /manualpeerlist:”0.pool.ntp.org 1.pool.ntp.org 2.pool.ntp.org 3.pool.ntp.org”
- Here, we have used the timeservers that we have obtained from here
- For older versions of Windows, you can use the command instead: net time /setsntp:”0.pool.ntp.org 1.pool.ntp.org 2.pool.ntp.org”
- Next, enter this command to specify the system that these timeservers are reliable: w32tm /config /reliable:yes
- Now, start the time service by entering this command on CMD: net start w32time or Start-Service w32time
Now, you have configured the NTP timeservers on your system. But we have a few steps to make sure this procedure works. Let’s begin…
- To check if the timeservers are working, use this command: w32tm /query /configuration
- You can also check using this command: w32tm /query /status
- If it shows any error, use this command to re-sync the timeservers: w32tm /resync
- Still, if you see this error: ‘The computer did not resync because no time data was available’. You should redo the whole process
This is how you can configure NTP servers in Windows 2012 R2. If you have followed the instructions above, it should work as usual. Still, there are a few things you should keep on mind. Let’s learn about those in the following section.
Related read:
Install Windows 10 on Android using Limbo Emulator
Things to Remember:
Firewall:
If you are behind a firewall and the UDP/123 port is blocked, then configuring NTP might not work. So, you should open the UDP/123 port on your system for better results.
Avoid Copy-Paste:
You might be tempted to directly copy and paste the commands we have shared above. But, we would forbid you to do that. Because there might be some formatting issue after you paste the commands copying directly from the web. Thus, you should try to manually type the commands for the best result.
Set the Correct Time Zone in your System:
NTP only helps to synchronize the time. But, it cannot set the time zone on your system. Thus, you would need to manually set the time zone on your computer. Otherwise, the synchronization will not be accurate.
Don’t Use More than 4 Timeservers:
You can use as many timeservers as you want. However, if you are using the timeservers from the ntp.org, then you should not use more than 4 at once. First off, it is even enough if you use 1 timeserver. However, for redundancy, you can use multiple time servers. But, ntp.org has a limited number of timeservers. Thus, using extra timeservers will put additional load on the servers.
If you face any issues following our instruction above. Don’t forget to leave your comment down below. We hope this post will help you to configure NTP time servers in Windows 2012 R2 without any hassle.